How Solar Panels Work Step by Step

science behind solar panels
The science of solar panels is a bit confusing for the most part. However, understanding how a piece of glass can generate enough electricity to power a whole community is an achievement.
Let’s look at how solar panels work.
Solar panels are essentially strategically designed silicon plates that can generate electricity when exposed to sunlight. Well, this may not be an accurate illustration, but this is how solar panels work from a broader point of view.
It’s okay if you have not quite gotten the idea yet. In the below article, I will explain how solar panels work, step by step. Stay tuned.
Before I get into the details, it’s essential for you to first understand how solar panels are made.
Otherwise, the rest won’t make sense. So, on that note, here is a short explanation-

The Science Behind Solar Panels

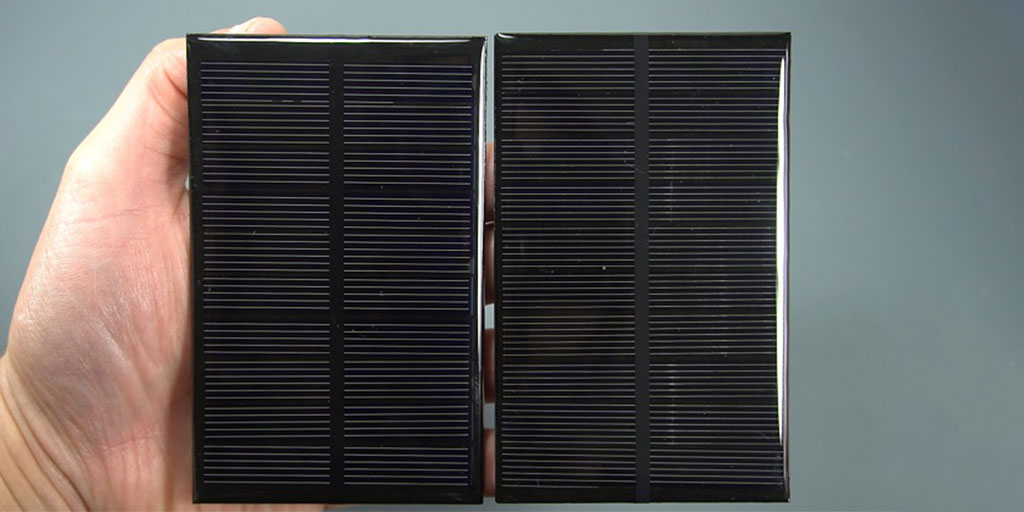
Solar panels are made of silicone, the most abundant semiconductor on the entire planet. Silicon is perfect for manufacturing solar cells because of its remarkable electrical, optical, thermal, and environmental properties. Along with its accessibility and competitive price point, it’s a wise choice for solar panels.
Also, in order for the solar panels to work, the semiconductor used in the panels has to be the one that has the most light-absorbing nature, as well as must be able to withstand different weather.
Silicone ticks all the boxes in this department.
How solar panels work
You might have noticed that I called silicone a semiconductor. In case you are not familiar with what a semiconductor is, let me explain. In broader terms, it’s a type of material that has the ability to easily conduct and keep a steady flow of electricity. The semiconductors are made of two separate regions (p-type and n-type), which together make a p-n junction to keep that steady flow of electricity.
Now that you understand the material and its ability, I will now explain how solar panels work.

Step-by-step How Solar Panels Work

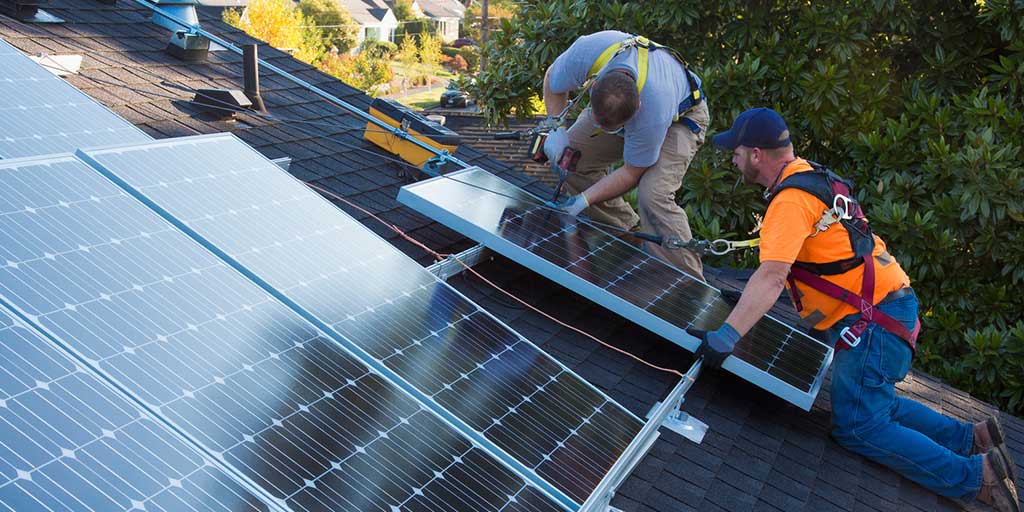
Step 1: Sunlight Hits the Solar Panels – Generates Electricity

You already know that PV panels are made of silicone which is a semiconductor. So, when the sunlight hits the silicon panels, it triggers a photovoltaic effect. Sunlight is a form of energy, and photons (light particles) are powerful enough to break an intracellular bond between electrons and the nucleus. When such a powerful source of energy comes in contact with a semiconductor, in this case, silicone made solar panels, the electrons within are set in motion.
Within the p-n junction area in a semiconductor, the electrons residing in the n-type region start their journey to the p-type region, which is one-directional. This flow of electrons is what we popularly known as electricity.
So, in step one, the solar panels generate electricity.

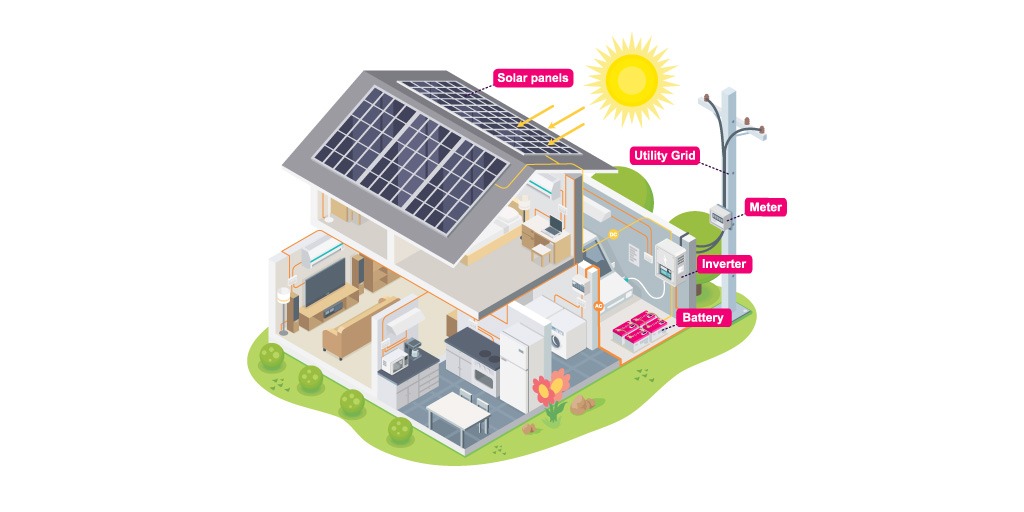
Step 2: Inverter Converts the Electricity into a Usable Energy

The electricity generated by the panels in the first step is DC (Direct Current) current. It’s not a form of energy that can be consumed by household appliances because it’s one-directional. That’s where the inverter comes into action. It converts DC to AC (Alternating Current) current, which is a usable form of energy for the house.
It’s an essential step in the process without which solar panels wouldn’t be usable.

Step 3: Distribution Through the Switchboard

After the conversion from DC to AC, the entire flow gets connected to a switchboard. It’s like a control panel of the solar ship that routes electricity to where it needs to be. There is no direct routing of energy from the inverter to all the individual appliances of the house; that’s not how solar energy works. In the electrical panel, the energy gets distributed into separate circuits.

Step 4: Utility Meter Rundown

Now that all the installation process is done, you are required to install a bi-directional utility meter that will keep records of your energy consumption. In case you are connected to the grid, the utility meter will keep track of how much electricity you are importing or exporting to and from the grid.
how solar panels work step-by-step

Step 5: Your Own Tracking System

Just like it’s important to track the grid consumption, it’s as equally if not more important to keep track of how much electricity your solar panels generate. For that, there are many EMS (Energy Monitoring System) available in the market. Through them, you can understand the pattern of your energy consumption and tweak changes here and there for a better outcome.

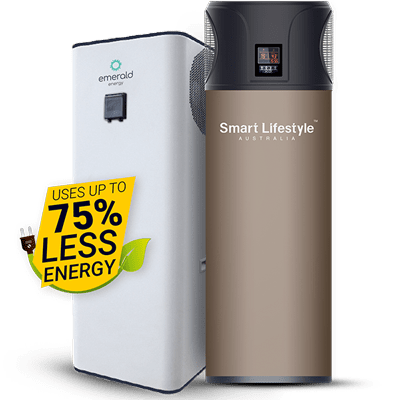
Step 6: Energy Storage- Solar Batteries

In case your solar system generates more electricity than you need, you have two options. One- is to export the surplus of energy back into the grid and two, is to store it in storage units, solar batteries.
If you decide to keep the surplus in batteries, you can use it at any time during the night without any ifs or buts. In my opinion, it’s a convenience that seems more desirable in the current situation of rising energy prices.

Points to be Noted

  • The amount of electricity generated by the solar panels depends on the positioning of the panels, the type of the panels, the number of panels, and so much more.
  • Depending on how much electricity is generated, you will have to choose an inverter accordingly.
  • Only CEC (Clean Energy Council) approved installers and products will make you an eligible candidate for government-provided rebates. (We are CEC approved)
I have explained to you how solar panels work. Although, there is so much more to know about the process and to understand it at its core. If you are interested in knowing more about the process, we can set you up with one of our CEC approved solar experts for a free consultation session.
All you have to do is fill up the form below!

Our Solar Experts are here to Help!

How Solar Panels Are Installed?

how solar panels are installed
As a homeowner in a rising energy market, making the decision to embrace green energy can be an effective way to not only manage your electricity pricing but also do your part for the environment, lets take a deep dive into how solar panels are installed.
Another key benefit of choosing green energy is the current renewable energy rebates and financing options our government now provides to both VIC and NSW residents.
The Australian government wants to ensure that it is doing its part for the environment and intern assisting in making the switch to renewable energy sources or green energy.
Now that you have made the decision to install solar panels, let’s look at how solar panels are installed.
how are solar panels installed

We have put together a step-by-step guide on how solar panels are installed below:

Step 1: Inspecting the Site and Conducting a Survey

Before the installers even begin with anything, they need to inspect the space first and ask some questions. These are some of the questions an experienced solar installer would ask:
  • What roof is on your house?
  • What direction does the roof face?
  • Is the roof the only space that has the potential for maximum power generation upon installation?
  • What are your power consumption needs?
  • How many solar panels are needed to generate the expected amount of energy?
  • How many PV panels can the roof successfully hold on to?
  • What is the best angle for space taking the geographical position into consideration?
  • What are you prepared to spend?
This process of getting to know the space gets done well before the solar panels’ installation day. A thorough examination of the site helps the solar installers to come up with an appropriate plan of action.

Step 2: Marking Out the Territory

In this next step, the installers mark out the roof to know exactly where to install the mounting brackets as well as the solar panels. Getting to know the roof and its holding capacity is the key here. Typically, it is the roof where the panels get installed; however, a separate mounting space can also be chosen if the demand arises and the space accommodates. Process-wise, it’s not that far off from a typical roof-mounted solar system.
solar panel installation

Step 3: Drilling the Holes or Not & Getting it All Ready

The installer will drill all the necessary holes to get the power cords in the house. These will connect the solar panels to the solar inverters that need to be tucked away in a space that is away from direct sunlight.
Note that different types of roofs require a different mounting system. If you have hired a highly qualified and experienced installer, they will know what’s your best bet. In order to always be on the safe side, hire people who are approved by the CEC (Clean Energy Council), such as yours truly.
Most installers will install a racking system instead of a direct mount. The racking system leaves much more room for later adjustment as the rails mounted provide installers the freedom to slide the panels down the rails. Once the most effective position is found, they get locked down to their perfect placement for a more secure installation job.
solar panels

Step 4: The Installation of Solar Panels

This is the step where all the solar panels finally get mounted onto the roof. All the wires are set to be in their positions and connected. Some houses do not allow for the panels to get directly connected to the main switchboard where the metering process occurs. In those situations, a separate sub-board is needed.
Please note that some installers do not offer a consumption meter with the package, which is technically not within the commitment. Without a consumption meter, there is unlikely a way for you to know how much solar power you are using and when you are using it.
To make the whole system work in sync, you would also need a CT coil wrapped around the cables so that you know the amount of energy flowing in all directions.

Step 5: Don't Forget the Inverter

Till step 4, it is pretty much about how solar panels are installed. However, we can’t really forget about the inverter, which is the key to all the magic.
The type of energy generated by the panels cannot be consumed by the appliances directly; they need to go through an inverter that makes the energy consumable for your house.
To tell you more accurately, the DC power generated by the panels gets converted to AC by the inverter, which is a usable form of energy.
Do you want to know more about different brands of solar inverters? Simply follow the link to our detailed review of famous brands that you can choose from – Click here.
installing solar panels
There is a lot of information you need to keep in mind when purchasing solar; if you’re unsure about the process, please reach out to an experienced solar provider to assist you with the correct information.
The Solar Emporium team is a qualified, experienced, and loyal group of individuals who have made it a priority from day one to serve nothing but the best to our customers. We do everything in our power to make the best cost-effective choices for our clients, and not only that, we try to stay connected throughout their solar journey for a smoother experience.
If you would like further information on any of the above information or have any questions on solar, please don’t hesitate to contact us on (1300 063 350)

Our Solar Experts are here to Help!